The process of adding content to a campaign is the same regardless of whether you are creating a brand new campaign or simply adding more content to an existing campaign. When creating a campaign, you will automatically be led to the Content Creation screen after you select your campaign settings.
For content best practices, check out this Help Center article.
If you’re adding new content to an existing campaign, you can do so by selecting the “Add Content” button at the top right of your dashboard.

The Content Creation Screen has everything you need to create, edit, and preview your content. You can add content manually or by Importing Existing Creatives.
- To increase your CTR test Dynamic Titles.
- Are your goals conversion-focused? We suggest adding a CTA .
Adding Content Manually
For a quick walk-through video on how to create content, check out this video, or follow the steps below:
To get started, add the URL of your landing page. If you select the option to “Load image and title from URL,” our system will try to pull your URL’s default image and title from your page’s metadata. This is optional and you can instead add your own titles and images.

- The Site Name is what appears under your ad’s headline. It’s pulled by default from your website’s metadata but you have the option to adjust it. Please note that the Site Name must be accurate and follow our Advertising Guidelines.
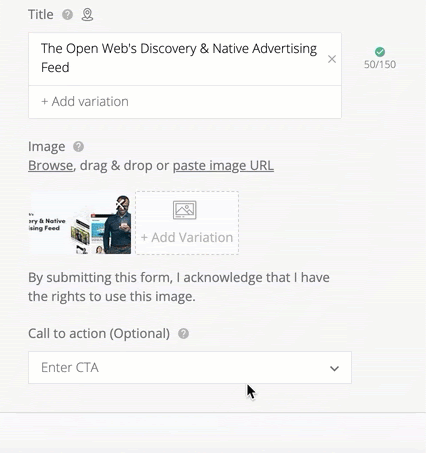
- The Title is the headline for your ad. You can easily add multiple headlines to create variations of your content, which we highly recommend.
- To add an image, you have several options. You can drag and drop the image directly onto the screen, browse for the image file on your computer, or add the image’s URL.
If you’d like to create several variations of your content there is an option to “+Add Variation” for both the title and image.
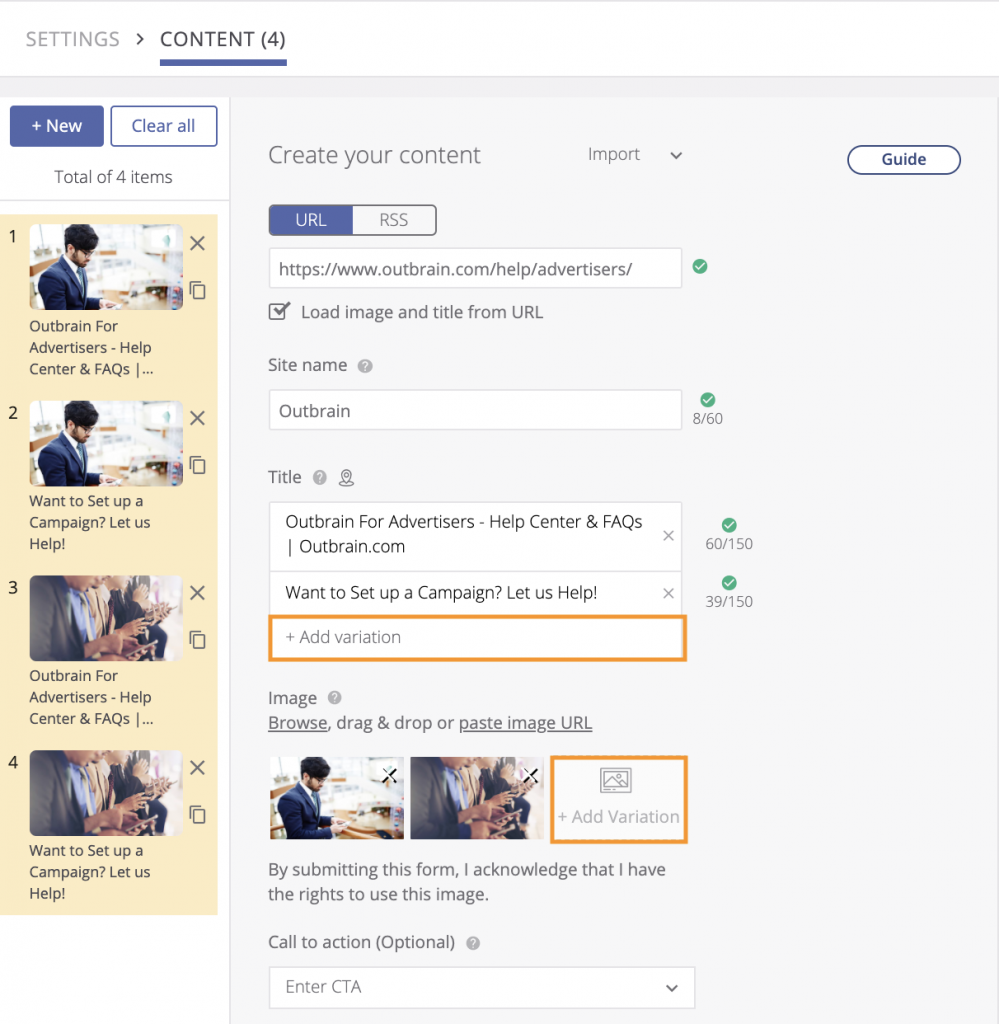
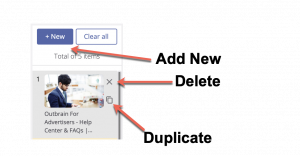
Once you add your titles and image(s), you’ll see the content appear on the left-hand side of the screen. You can duplicate or delete any of the ads. If you’d like to add a new URL, you can also do so by selecting the “+New” button, but we recommend you only use one URL per campaign.
Call to Action
Below “Image” there is an optional Call to Action drop-down menu.
- It is suggested to select a (relevant) CTA. Adding a CTA helps you provide a clear path to action for consumers.
- CTA buttons can be selected from a predefined list:
- Apply Now
- Book Now
- Contact Us
- Download
- Learn More
- Get Quote
- Shop Now
- Sign Up
- Watch More
- Listen Now
- Subscribe
- RSVP
- Register Now
- Install App
- Read more
- Play Game
- Donate Now
- Order Now
- Join Now
-
CTA buttons are supported in 10 languages, including English, French, German, Hebrew, Italian, Japanese, Portuguese, Spanish, Dutch, and Swedish.
On the right side of the screen, you’ll see a preview of how your selected ad can look in an Outbrain widget. Please note, our placements on publisher pages come in a variety of layouts and designs. Because of this, CTA is an additional element to our standard creative format that may or may not display.

Previewing & Editing Your Images
Outbrain offers 3 image formatting options:
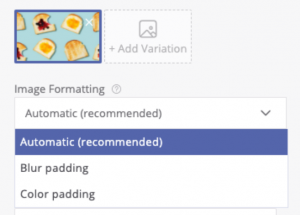
- Automatic (recommended) – This default option is the usual way of treating images according to the various widgets’ aspect ratios across our publisher partners. The “Ratio Previews” allow you to view all of the various layouts your creative will appear in across the Outbrain network when uploading content. Because Outbrain placements are tailored to create the most native experience for each of our publisher partners, your creative may appear in various dimensions and ratios. Outbrain employs a service to automatically detect the prominent features of your images and format them within placements accordingly for the optimum user experience. If you want to select yourself the way your images are being automatically adjusted according to each ratio, you can use the Image Editor.
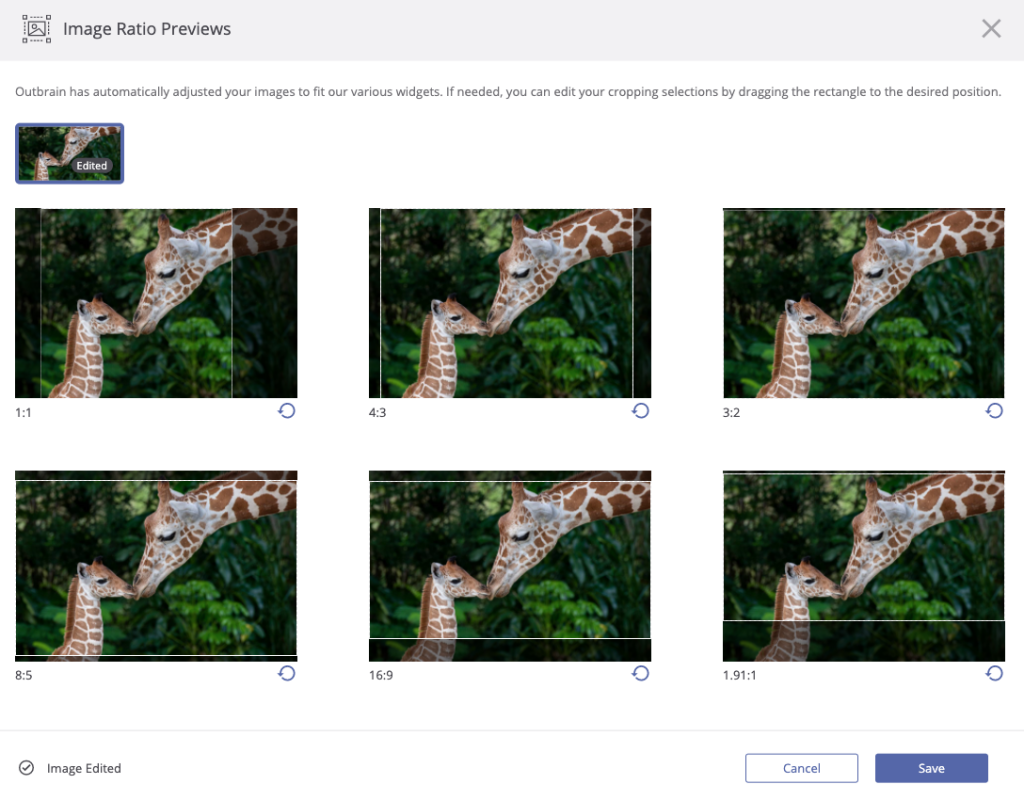
Simply drag the dotted rectangle to the desired position on your image. This provides you with full control over how your brand and creatives appear across the Outbrain network. - Blur padding – The Blur padding option adds blurred borders to an image, which eliminates the need to crop it due to the different widget ratios.
- Color padding – The Color padding option takes into account the main color from an image and adds colored borders to it, which also eliminates the need to crop it due to the different widget ratios.
Both the blur padding and colour padding options are great solutions for users who have high attention to how their creatives appear across our network, have some text or a logo on their images and want to ensure it will always be displayed, or need additional assurance on brand safety or suitability concerns.
TIPS:
- If there’s no logo or text on your images, the automatic image option (Image cropping) is highly recommended.
- In case you’d like to avoid cropping on your images, use the colour padding option if your image features mainly one color; if your image features many different objects and colors, it is best to use the Blur padding tool.
Please Note – Any manual adjustments you make to your image cropping will be saved to the image for future use — meaning your image will appear in your desired ratio if it is used in additional creatives or campaigns.
Once you’re satisfied with your content, you can click the “Launch Campaign” button in the lower right corner to submit your content for review.

*Content review can take up to 2 business days (not including weekends or holidays).*
If your content is pending review, you can edit its creatives.!
Importing Existing Creatives
You can also import your existing creatives by selecting the “Import” option.
- The “Manual Import” selection will allow you to paste your content directly from a spreadsheet.
- To import your content using a CSV, you’ll first need to download the template provided to easily import the data.
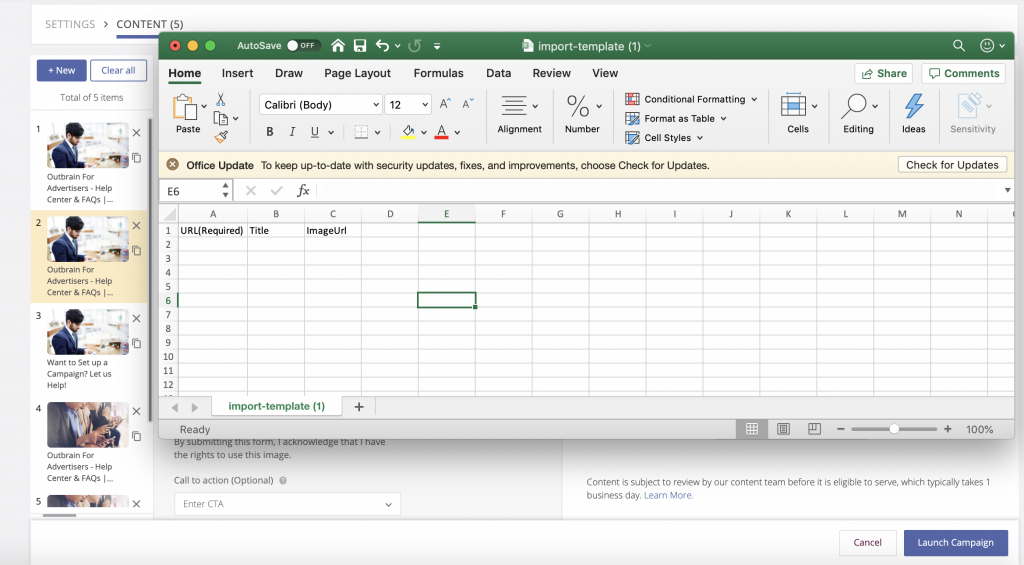
In the URL column, add a URL to each cell. In the Title column, add the corresponding headline per URL. Manually add in Dynamic Titles by using the proper ${}$ (dollar sign + curly brackets) syntax in each cell. In the Image URLs column, add the corresponding image URL. Finally, select the “Import” option, then “Add Content”.
Please note:
- Only the URL is mandatory — any titles or images that aren’t added will be pulled from the URL’s metadata.
- Optional fields (such as CTAs) are not supported on the import template and must be added manually if you’d like to include them.
Review your headline and images, making any necessary changes to those attributes before submission.
Creating Dynamic Titles
Have you ever wished you could call out a potential customer’s location or mention a specific day in your headline? Simply type in a dynamic parameter by entering ${ (dollar sign + left curly bracket). These symbols will trigger the dynamic drop-down window, where you can select a country, region, or city, as well as a day of the week to provide deeper relevance and customization.
For example, if you want to add a city and day to your headline, it should read: 9 Headline Tips to Use for Your ${City}$ Consumers this ${dayofweek+2}$
Please note that the use of Dynamic Titles carries its own set of requirements:
- While available globally, Dynamic Titles are only available in select languages: English, German, Spanish, French, Portuguese, and Japanese. All other languages will display dynamic titles in English.
- If you do not use the proper syntax for dynamic titles, the user’s location will not display in the headline. Always add $ before and after the curly braces {} to trigger a dynamic title.
- In order to use location dynamic titles (such as ${city}$), you must include some way on the landing page for the user to select their location or the landing page must also be dynamic and populate/mention the user’s location in some way.
Key Takeaways:
- In addition to URLs, you can also upload RSS feeds. However, the images and headlines cannot be edited because they are automatically pulled into the campaign. If you would like to set an expiration date for your content, email us and we’ll set a freshness cap to keep the new content in a rotation.
- Images you add to your campaign will be resized depending on what publisher your content appears on. Each publisher’s widgets vary and as a result, your image’s size will as well!
- Our system won’t accept titles that are over 100 characters. To avoid performance issues, its best to keep them under 70 characters because otherwise they run the risk of getting cut off in publisher widgets.
- If your content is pending review, you can edit its creatives.
Have any questions? Reach out to our friendly DIY Customer Success team for assistance.